Once you’re registered with NoCowboys, the first thing to do is to fill out your profile – this is your marketing tool and it is important to optimise the various features to present your business to your prospective customers.
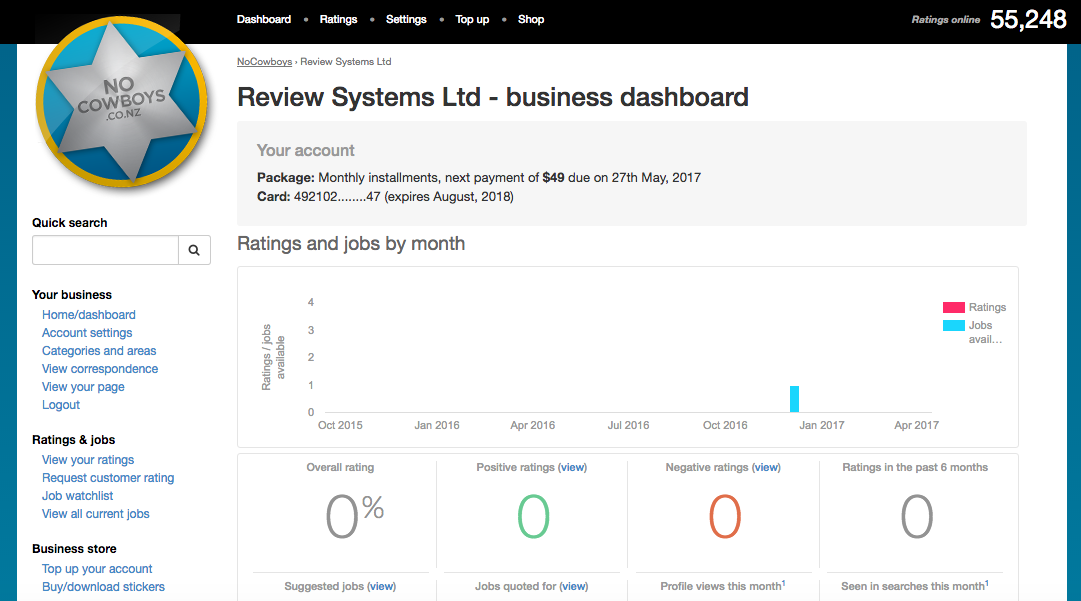
To do this, simply log in to your NoCowboys profile, and you will be presented with a “Business Dashboard”.
If you have forgotten your password, you can reset it at the login screen.
The Business Dashboard is like your homepage. It’s where you can see how your profile has been performing over the past 4 weeks, and it’s also where you go to make any necessary changes to your profile.
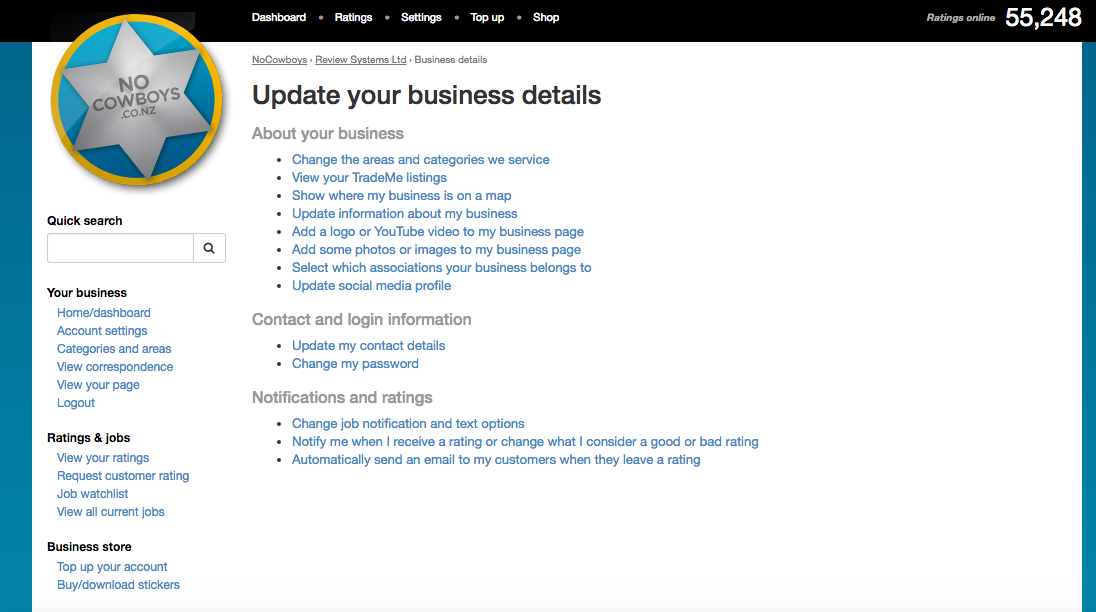
To get started, click on “Account Settings” on the left of your Business Dashboard. This is where most of the changes to your profile are located.
Adding the story of your business and what you do
To fill out your profile, click on “Update information about my business” from the “Account Settings” page, and fill in the “About us” and “What we do” boxes, and then click save. Remember to make it as interesting and engaging as you can.
If you plan on spending some time writing something up, it’s a good idea to use Microsoft Word to write what you need to, and then copy it over to the website, as our system will automatically log you out after a short period of inactivity.
Add images
Images and video are great for SEO and increase your Google presence – they also sell your business and what you do to your future customers.
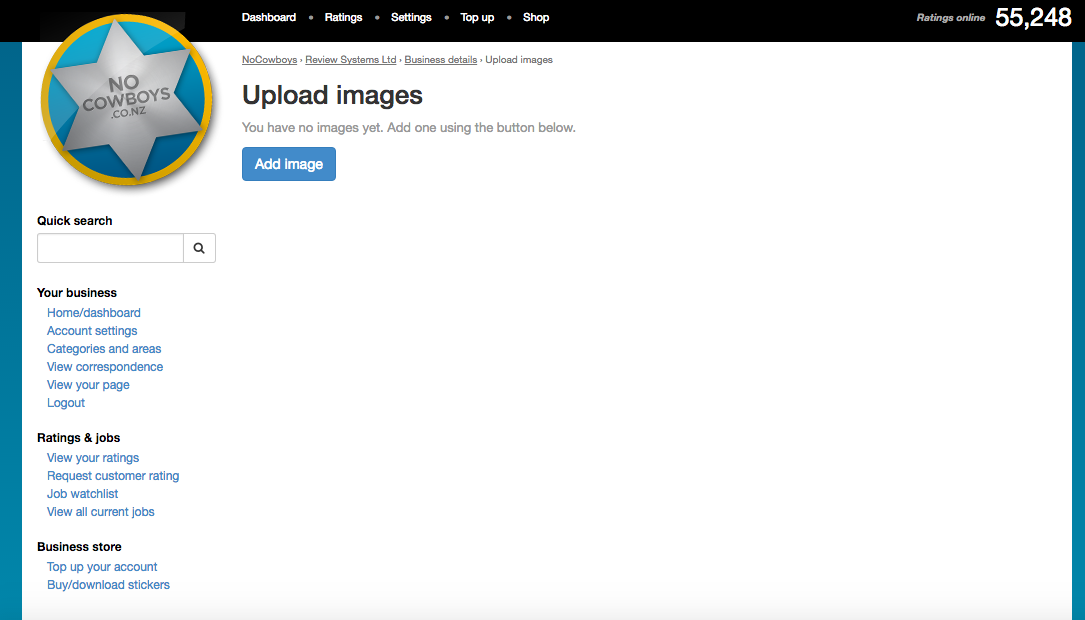
To add images to your profile, click on “Add some photos or images to my business page” from the “Account Settings” page, and click on the “Add Image” button. When the pop-up window appears, click on the “Choose image” button to find and select the image you wish to upload. Once you’ve selected the image you wish to upload, you will need to enter a title for the image. Tip for SEO (Search Engine Optimisation, or Organic Search) – for the description of each image add the following, your business name, keywords – e.g, plumbing, drains, electrician and then a location – (where the work was done) e.g. Hornby, Christchurch, Glen Innes, Auckland.
Once you’re happy with the Title, and description, click Save, and that’s it!
Adding video and your business logo
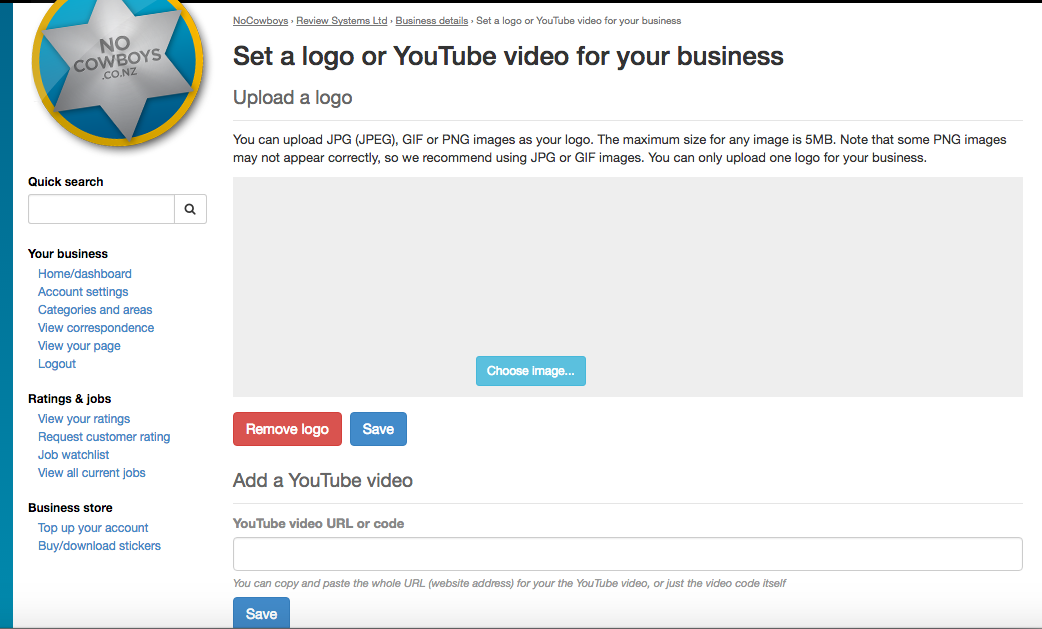
To add a logo or video to your profile, click on “Add a logo or YouTube video to my business page” from the “Account Settings” page. Click on the “Choose Image” button to find and select the logo you wish to upload, or copy and paste the link to the YouTube video you wish to be displayed on your profile page, and click the Save button once you’re done – easy.
Select your areas and categories
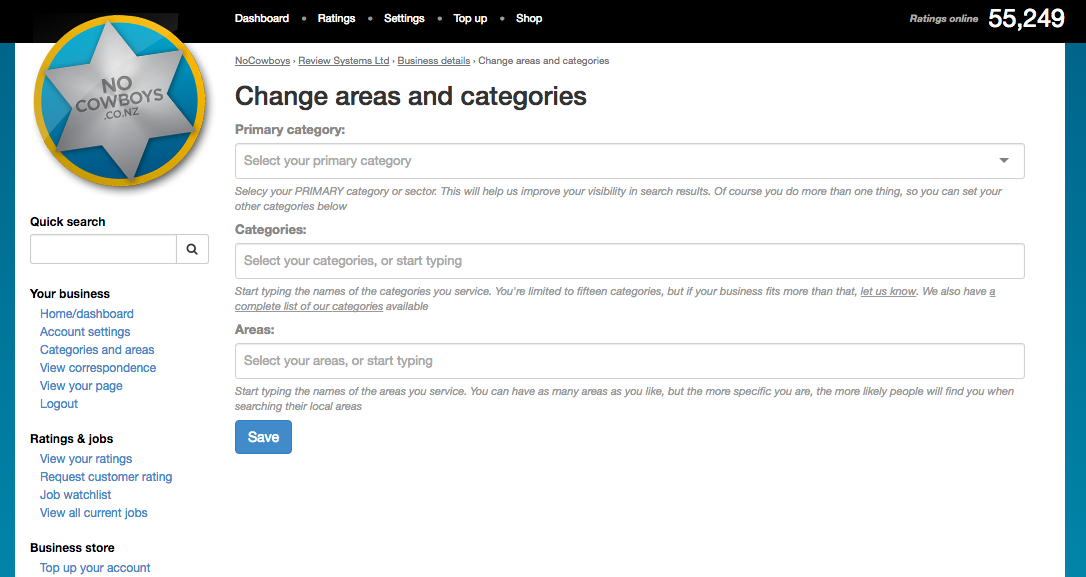
Click on “Areas and Categories” on the left of your Dashboard. Select a Primary Category from the drop-down menu. Below this you can type out any other categories that you wish your business to service.
Below the categories box is the box for the areas you service. Again, simply type out any areas that your business services, and click Save once you’re done.
The areas and categories you select determine where you will appear on the site, and also determine which jobs we send you as well. We can add wider location categories – such as Auckland City and suburbs or Christchurch City – call or email your account manager to set this up.
Enter your contact details
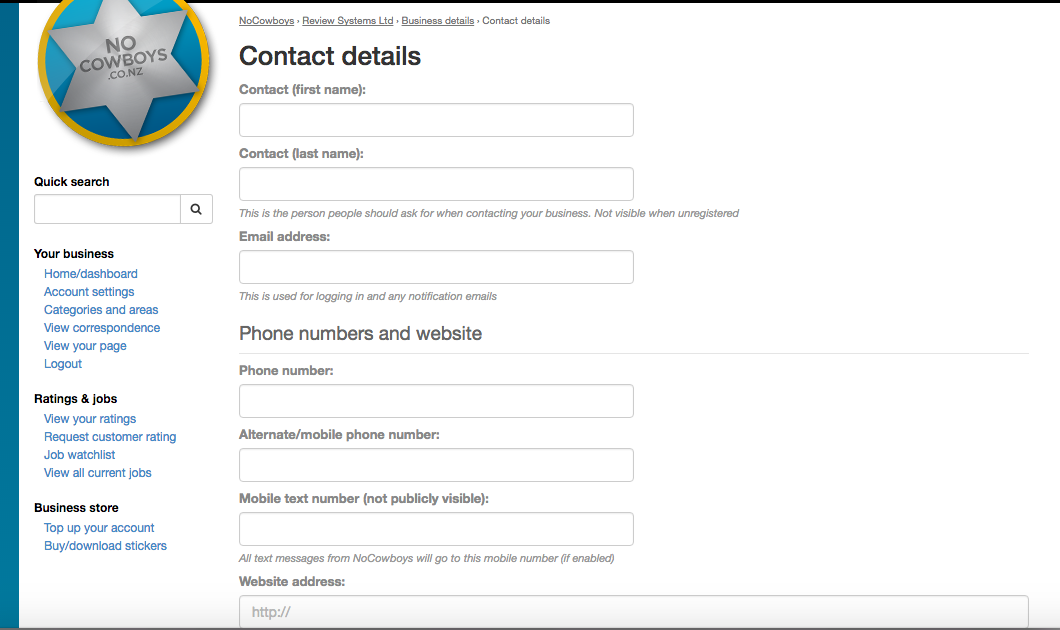
Click on “Update my contact details” from the “Account Settings” page. Please make sure all the details you enter on this page are correct. You will not incur any additional charges for allowing customers to text you through our website (See: “Mobile Text Number”). If you do not wish for people to be able to see your address, be sure to tick the box for “Hide your address from public view” under the Address section. Likewise, the same can be done for your postal address.
Once completed, don’t forget to click Save!
Choose how your business is displayed on the map
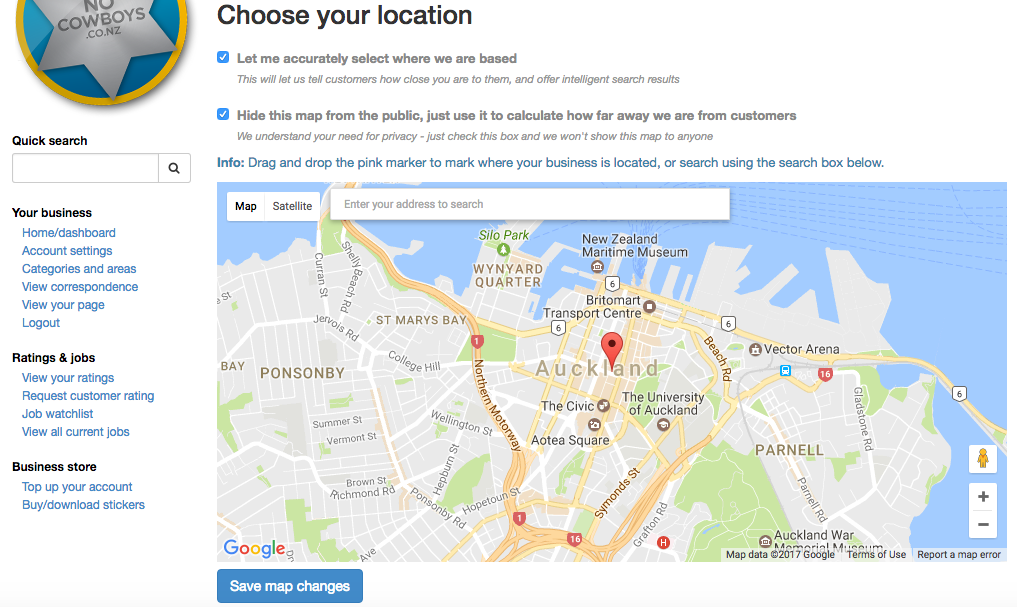
We display a map on every business profile, so it’s important to go in to the “Account Settings” page, and click on “
Show where my business is on a map” to set this up to display what you want.
You can tick the box for “Let me accurately select where we are based” and position the marker where your business is located. As our system is location based, it is important that you enter the correct settings. Any incorrect settings here will have an adverse effect on the performance of your profile.
Alternatively, you can tick “Hide this map from the public, just use it to calculate how far away we are from customers” and we will instead show the map with a blue ring around the general area of where you are based.
Add Associations to your profile
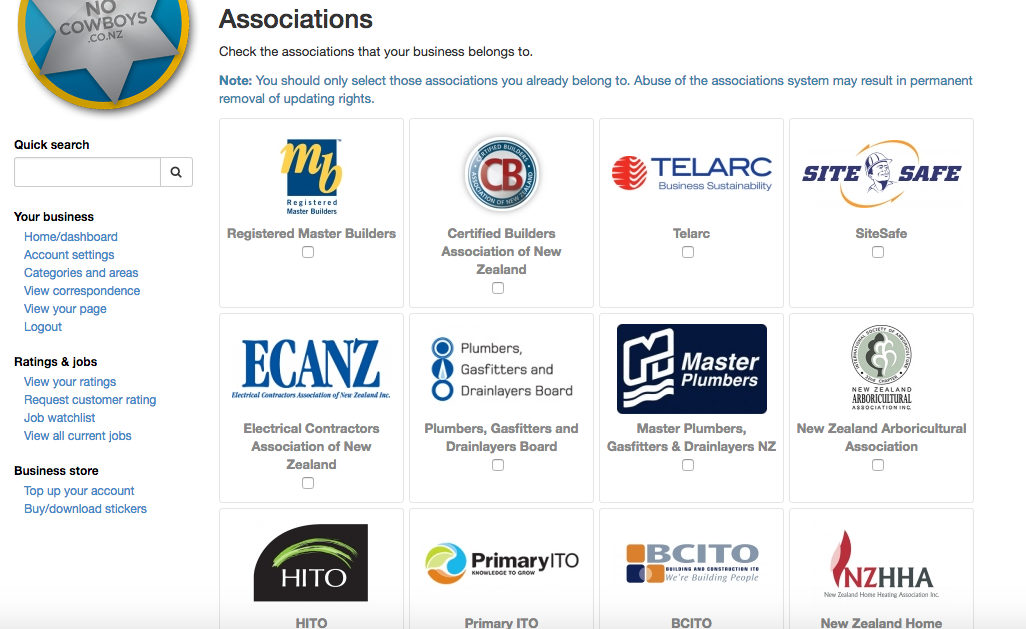
Adding Association logos that you belong to adds a level of trust and is highly beneficial.
Click on “Select which associations your business belongs to” from the “Account Settings” page. Take your time and scroll through this page as we have plenty of associations to choose from. You can tick as many associations as you like. If we don’t have an association you’re a part of, get in touch with us and we will add it. Once you’ve selected all of your associations, click the “Save Associations” button at the bottom of the page.
Link your Social Media
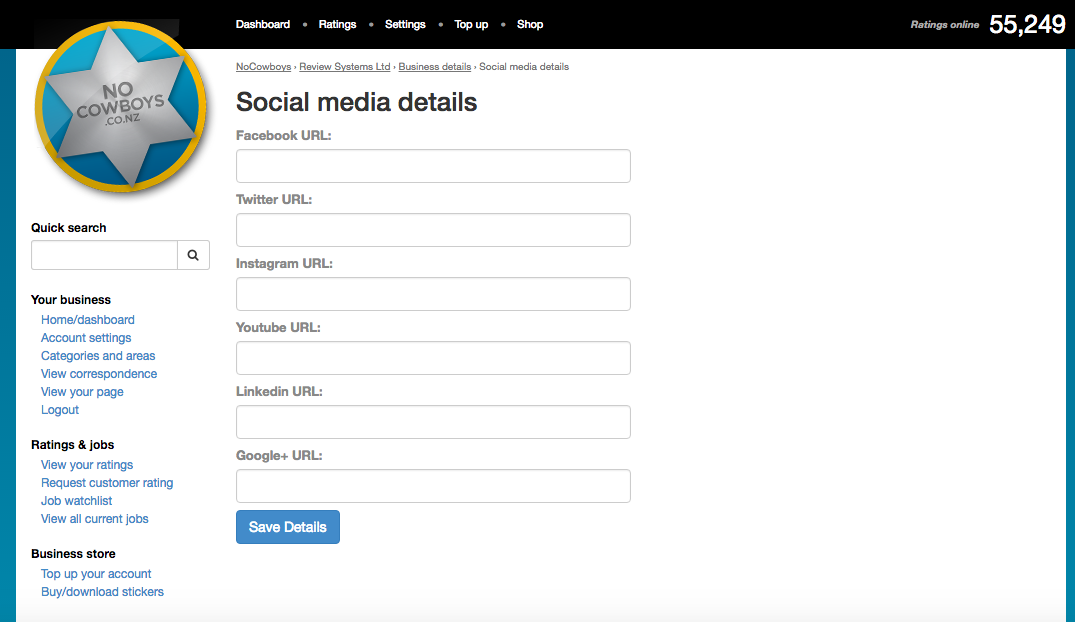
By clicking on the “Update Social Media Profile” link on the “Account Settings” page, you can copy and paste your links to most major Social Media Outlets. We currently support Facebook, Twitter, Instagram, YouTube, LinkedIn, and Google+. All links are added as icons.
Settings and Notifications – change how your NoCowboys profile operates to suit you
By default, we will notify you of all ratings posted on your NoCowboys Profile. You will also receive an email from our system every time someone loads a job to the jobs board that falls within the areas and categories you have selected. These settings can all be tailored to suit your needs. You can even set up your NoCowboys profile to send a “Thank-you” email out to anyone that leaves you a positive rating, asking them to pass on the good word to their family and friends!
Notification Preferences
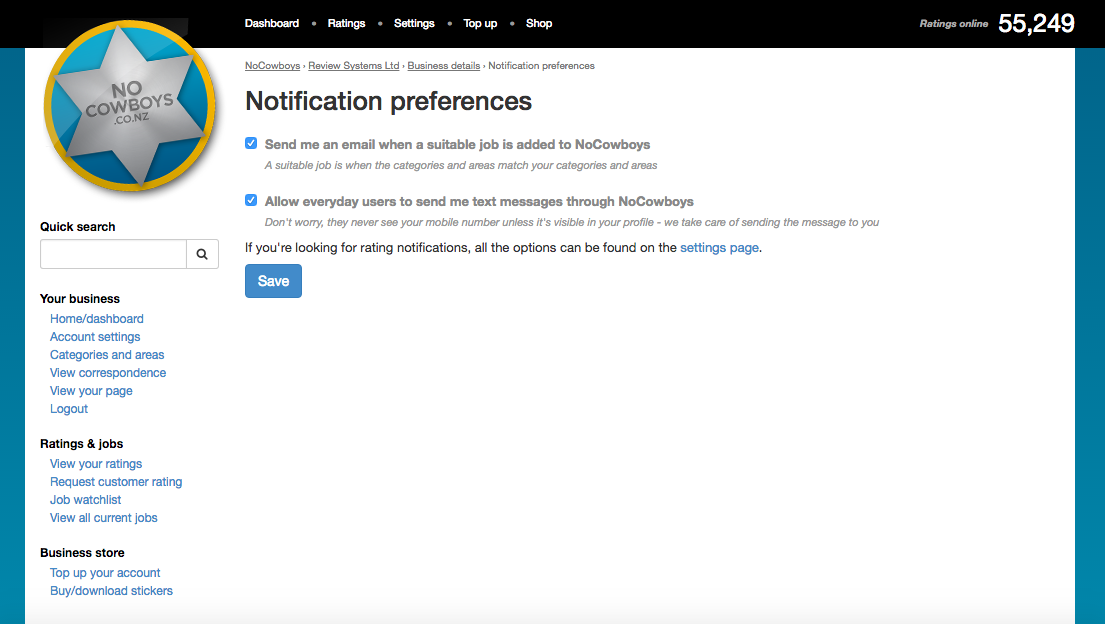
The “Change job notification and text options” settings can be found on the “Account Settings” page. From here, you choose whether you would like NoCowboys’ website users to send you text messages via the website, or whether you want us to notify you via email of a new job.
Rating Classification and Notifications
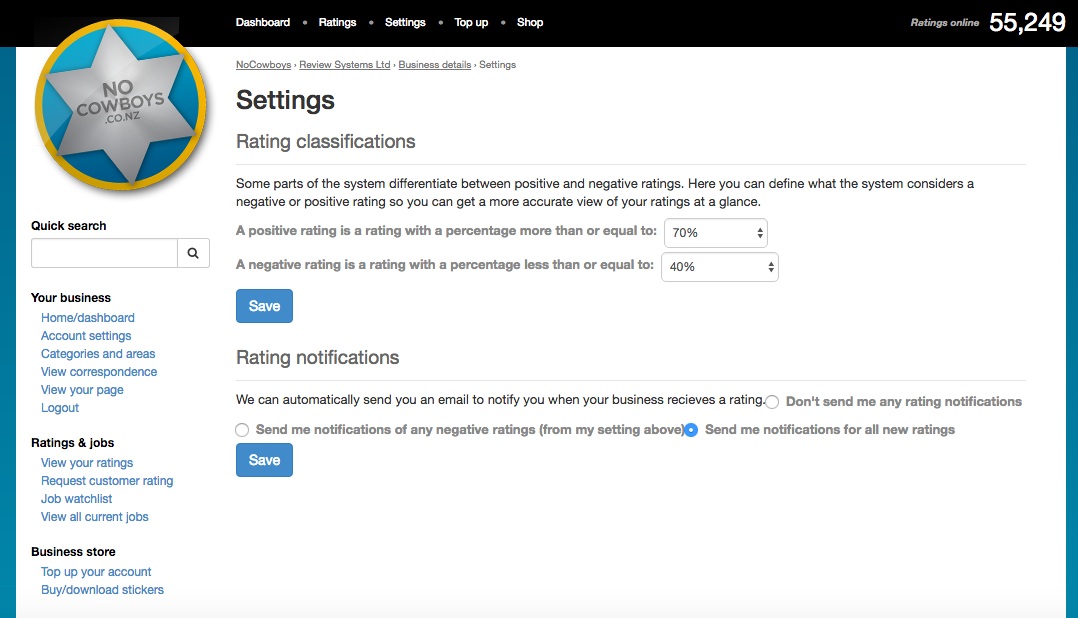
When you’re on the “Account Settings” page, click on “Notify me when I receive a rating or change what I consider a good or bad rating” to change what you deem to be a negative or positive rating.
Some parts of the system differentiate between positive and negative ratings. Here you can define what the system considers a negative or positive rating so you can get a more accurate view of your ratings at a glance.
You can also choose when you want to be notified of new ratings. You can choose to be notified of all ratings, no ratings, or only negative ratings as per your settings.
Setting Up Automated Emails
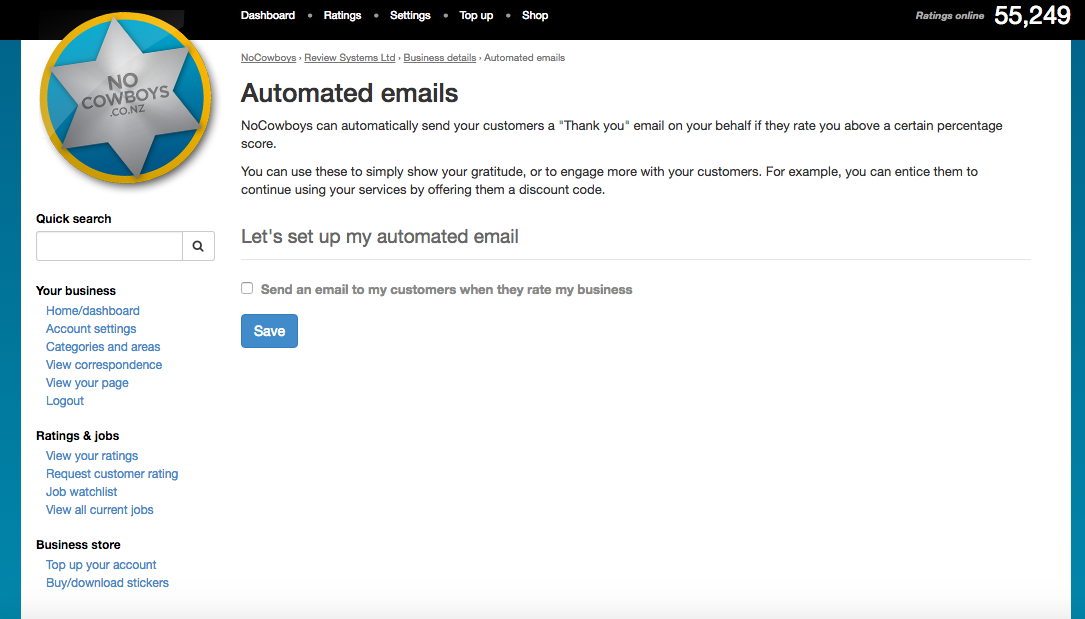
NoCowboys can automatically send your customers a “Thank you” email on your behalf if they rate you above a certain percentage score.
You can use these to simply show your gratitude, or to engage more with your customers. For example, you can entice them to continue using your services by offering them a discount code.
To set this up, click on “Automatically send an email to my customers when they leave a rating” from the “Account Settings” page.
Getting the most out of your registration
In order to get the most out of your registration with us, you must have consistent and current reviews. How you get these is up to you but we have a number of tools available to help you bring these in.
A lot of people simply ask verbally, however not everyone will rate you. By far the most common is to simply put a rating request on your invoices. Be sure to ask your Account manager for hyperlinked logos, or links, to help you get this in place. We also have rating request fliers available.
Requesting Ratings through NoCowboys
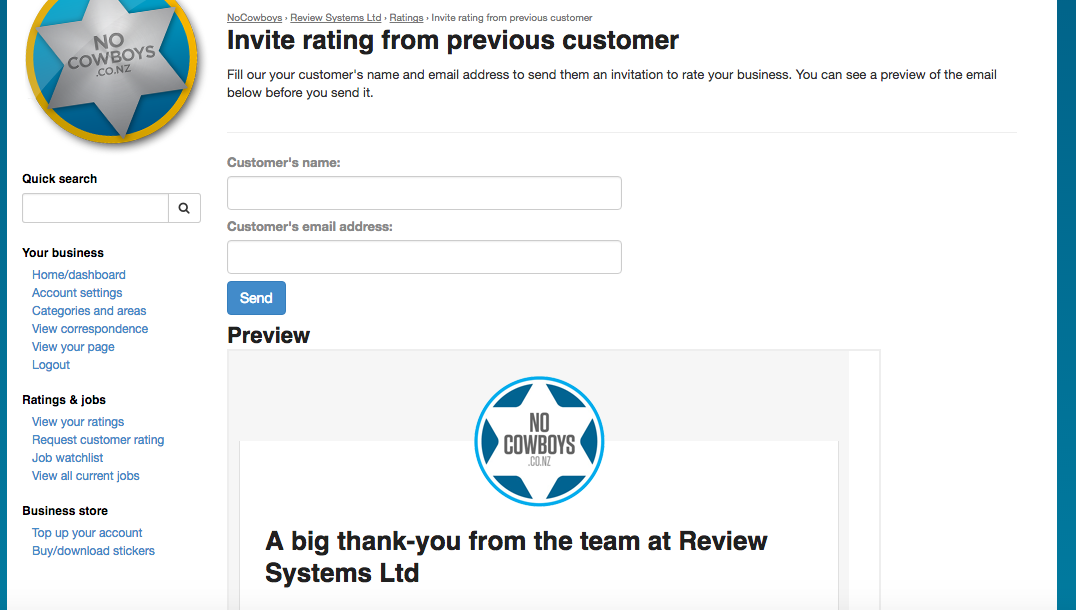
You can also click on “Request Customer Rating” on the left of your Business Dashboard to send a templated rating request to past customers. Simply enter a customer’s first name and email address, and click Send .
Since not everyone will rate you, we recommend you copy the template and send it from your own email address. Not only does this increase the likelihood that customers will come through and leave a rating, but it also eliminates the possibility of the rating request being picked up as “spam”.
Remember that at any time you can contact a NoCowboys account manager to help you with any part of your profile or to discuss strategies for accruing consistent and current reviews.


